Project 3D Visualisations, 3D Animations
Animated Exterior Roller Shutter Installation and Service Guide for AMIDEX
Case study: 3D animation of roller shutter installation, motor and slat replacement, made from CAD drawings in 6 weeks
For AMIDEX, a manufacturer of shading systems from Kłodzko, Poland, we created an animated installation and service guide for an exterior roller shutter. The 3D film shows step by step how to install the guide rails and the shutter box on the wall by the window, how to replace the motor and how to replace damaged curtain slats. The guide was made from CAD drawings and photos in 6 weeks and became part of the AMIDEX knowledge base for installers and customers.
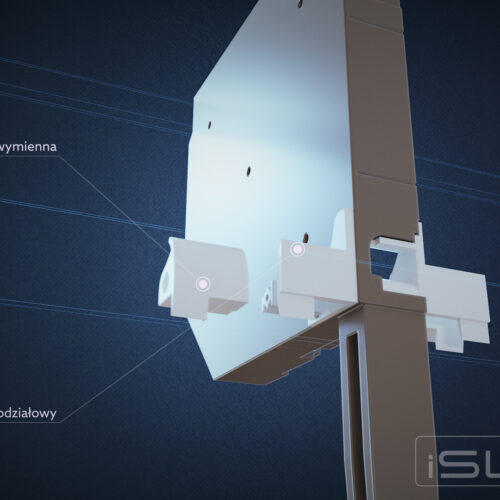
AMIDEX has been operating since 1988: it sells, measures and installs roller shutters, insect screens, pergolas and automation. The roller shutters in the animation are built on components patented by Protechnica: the iCover® box side and the iSlide® slide.
How do you show roller shutter installation and service in one film?
AMIDEX needed a guide for two audiences: installers who fit and service roller shutters, and retail customers who want to understand how their shutter is built. The film had to cover three tasks:
- installing the guide rails and the shutter box on the wall by the window,
- replacing the motor hidden in the roller tube inside the box,
- replacing damaged slats without removing the whole shutter.
The key service steps happen inside a closed box, where a photo or a PDF manual can hardly show them. A 3D animation lets us look inside and show the order of every move.
How was the animated roller shutter installation guide made?
We built the 3D model of the shutter from CAD drawings and photos supplied by the client. The script was broken down into single actions, in the order an installer performs them, and each stage of the film has a title card so viewers can quickly return to the part they need.
This is another project for the same client. Earlier we created an assembly animation of the iCover® side and iSlide® slide for Protechnica, showing how the box components fit together. The new film goes a step further: it shows how the finished shutter is installed by the window and how it is serviced on these components. Read how to prepare documentation for this kind of work in our STEP files guide for companies.
Exterior roller shutter installation and service step by step
The animation walks through the steps in this order:
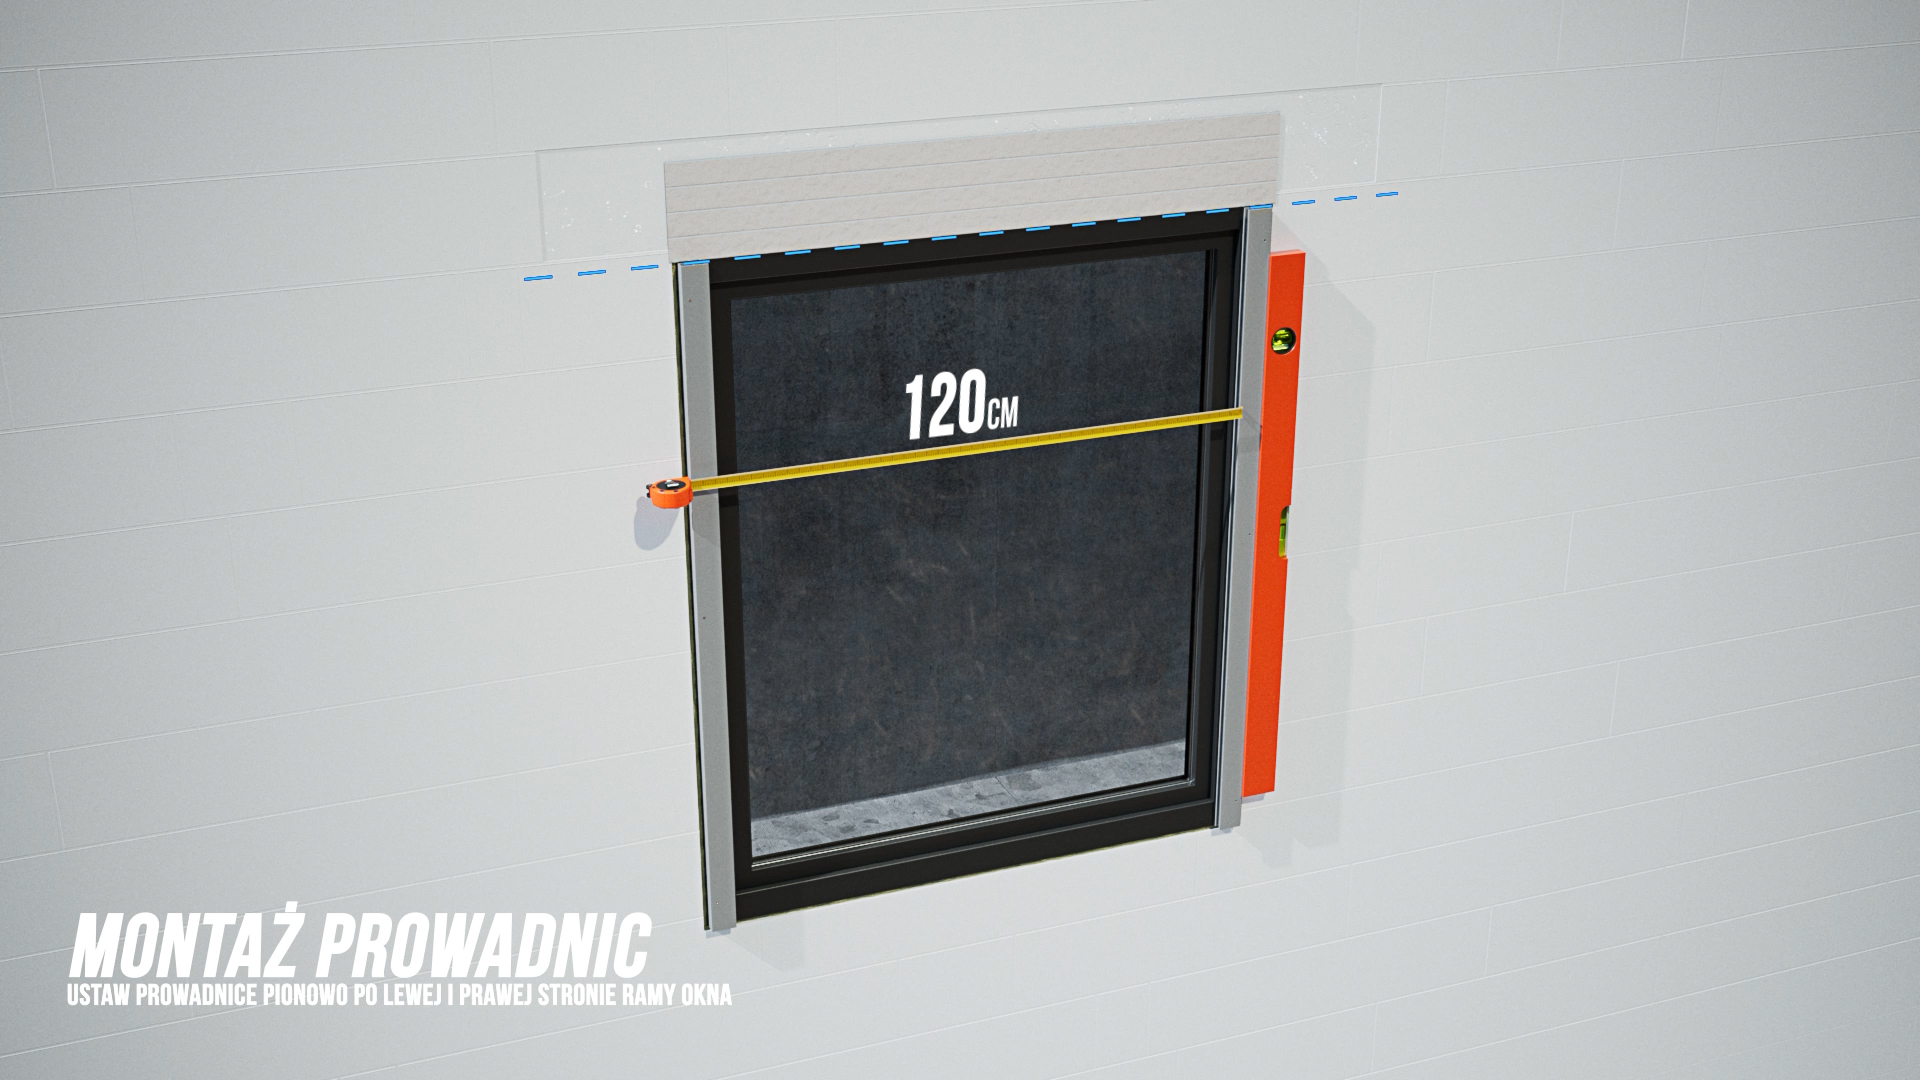
- Guide rail installation: the guide rails are set vertically on both sides of the window frame, aligned with the top of the frame, screwed to the frame and checked for plumb.
- Shutter box installation: the box is slid onto both guide rails from above and fixed to the wall with angle brackets on the left and right.
- Preparing for service: the curtain is lowered and the inspection flap is opened to give access to the inside of the box.
- Removing the inner cover: the cover in the box side is unscrewed at the bottom and slid onto the roller tube, revealing the motor head and cable.
- Motor replacement: with the power disconnected, the cable is released from the shutter side, the old motor is pulled out of the roller tube, the new one is inserted and its cable is joined to the power supply with a connector. Spare cable is wound around the tube and secured so it does not rub against moving parts.
- Refitting the inner cover: the cover is slid back and screwed in place, then checked so it does not interfere with the curtain.
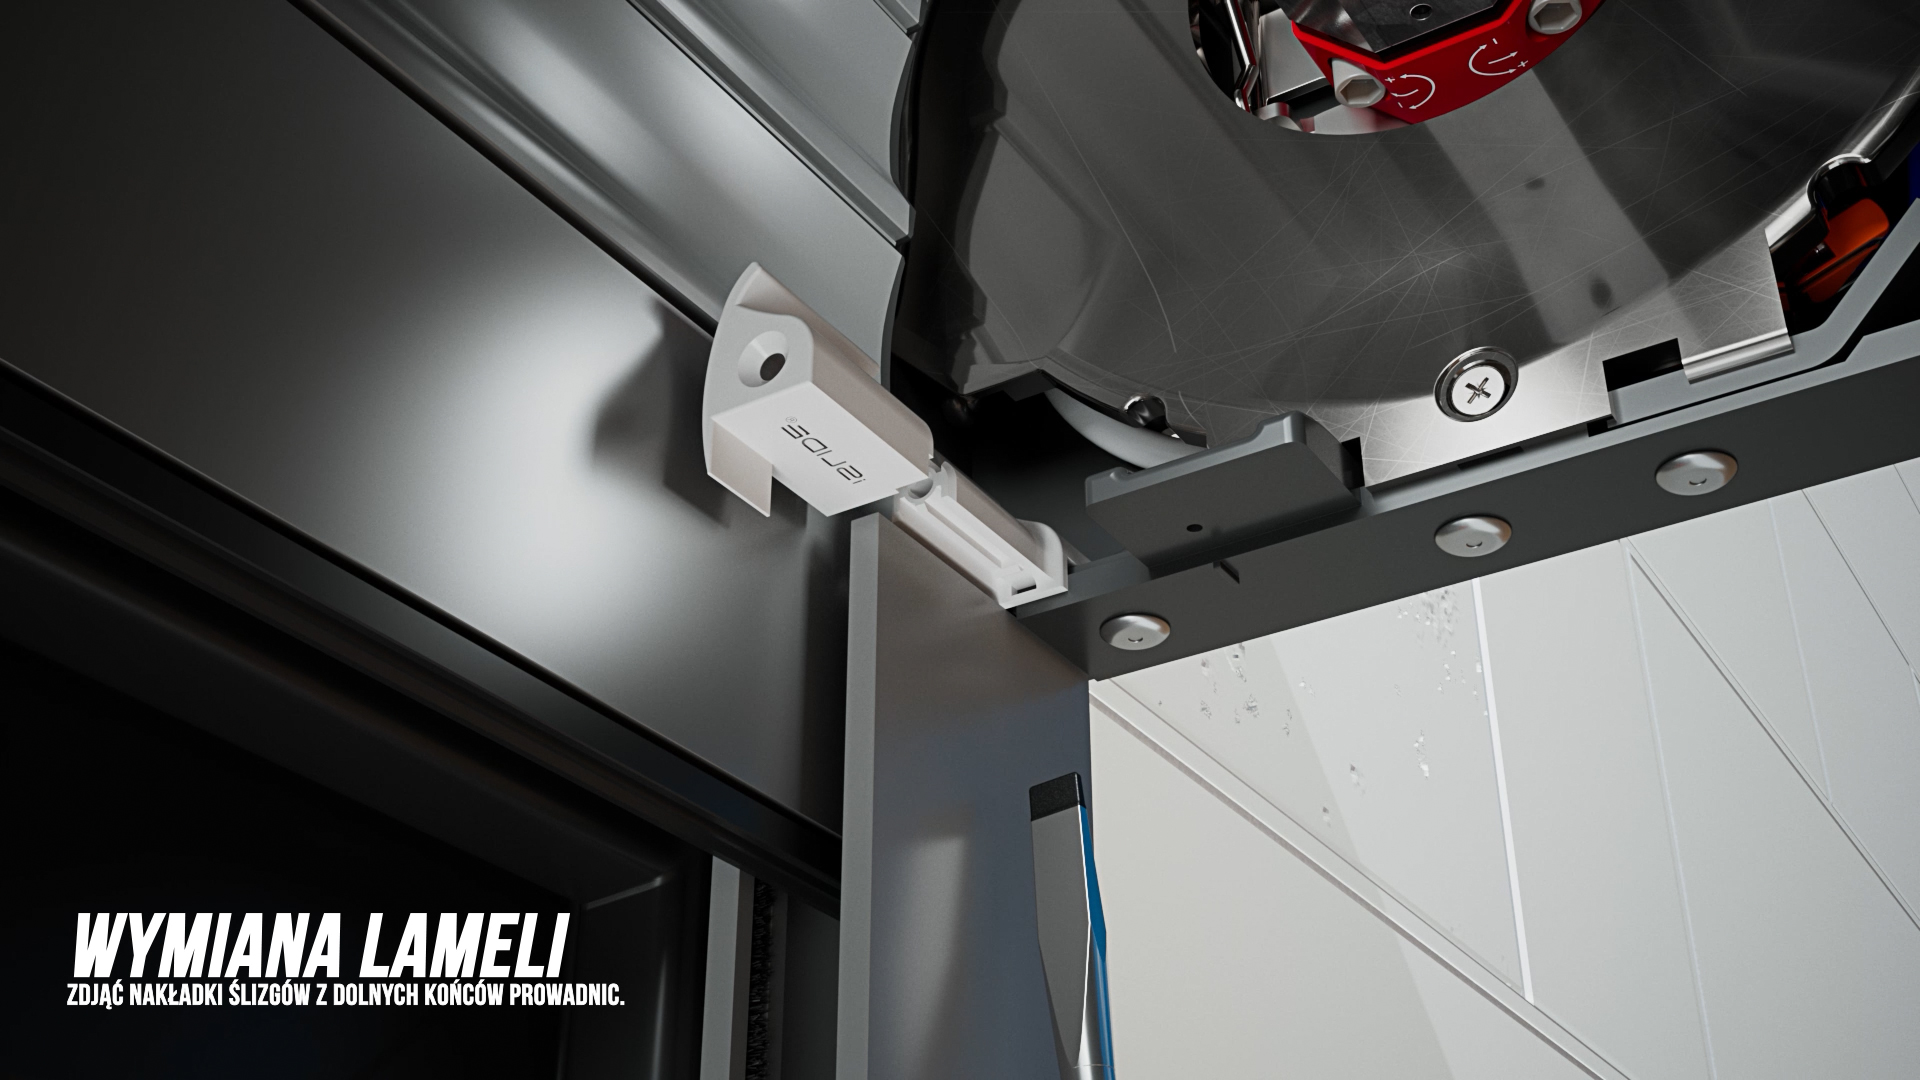
- Slat replacement: the curtain is raised, the slide caps are removed from the bottom ends of the guide rails and the curtain is pulled out over the roller tube. Damaged slats are slid out sideways, new ones are slid in, and the curtain goes back into the guide rails.
- Final assembly and test: after closing the inspection flap and checking all fixings, the power is reconnected and the curtain is lowered and raised to check smooth operation, the closing of the bottom bar and the seal of the flap.
The animation shows the order of the steps. Detailed installation parameters and safety rules are given in the shutter manufacturer’s instructions; always disconnect the power before working on the motor.
Stills from the roller shutter installation and service animation
Selected shots from the film: guide rail installation by the window, the inside of the box with the motor, curtain slat replacement and the reassembled shutter after service.
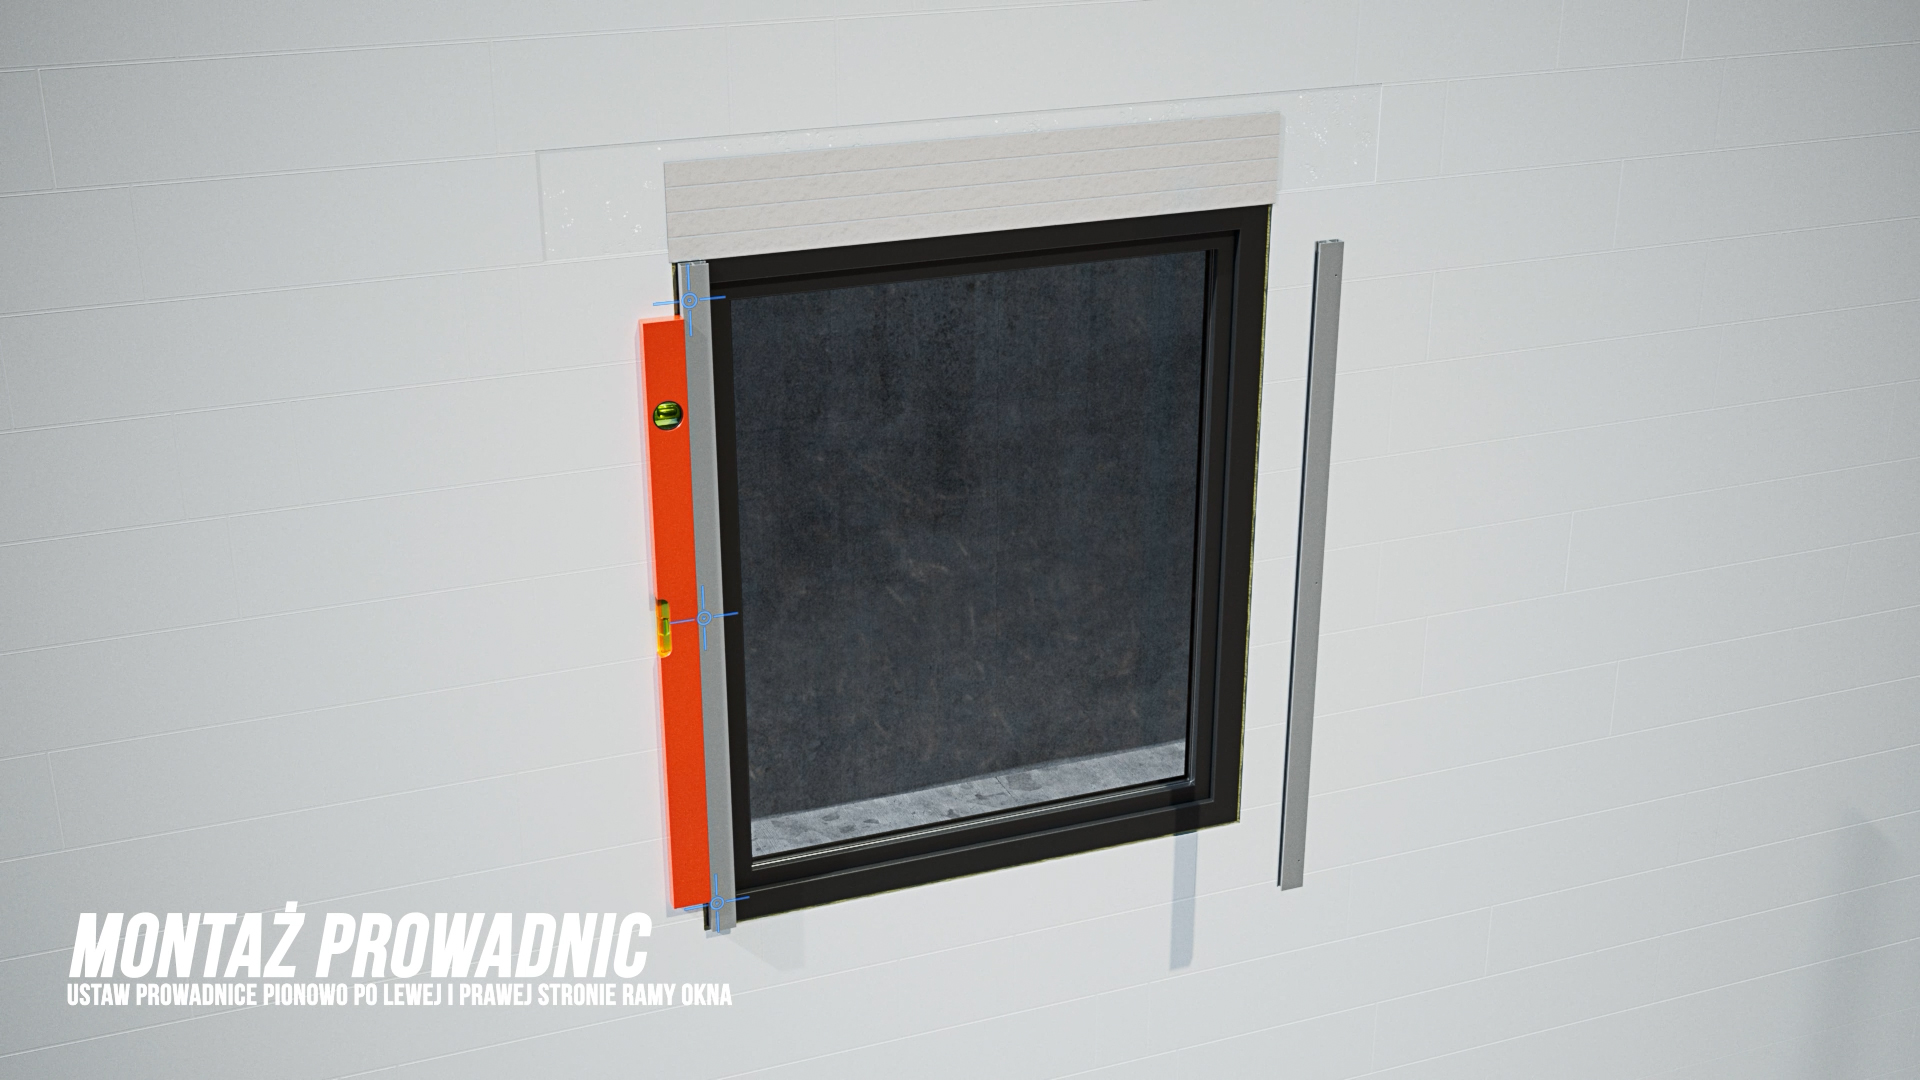
Guide rail installation
Guide rails on both sides of the window frame
Positioning the guide rails
Aligned with the top of the frame
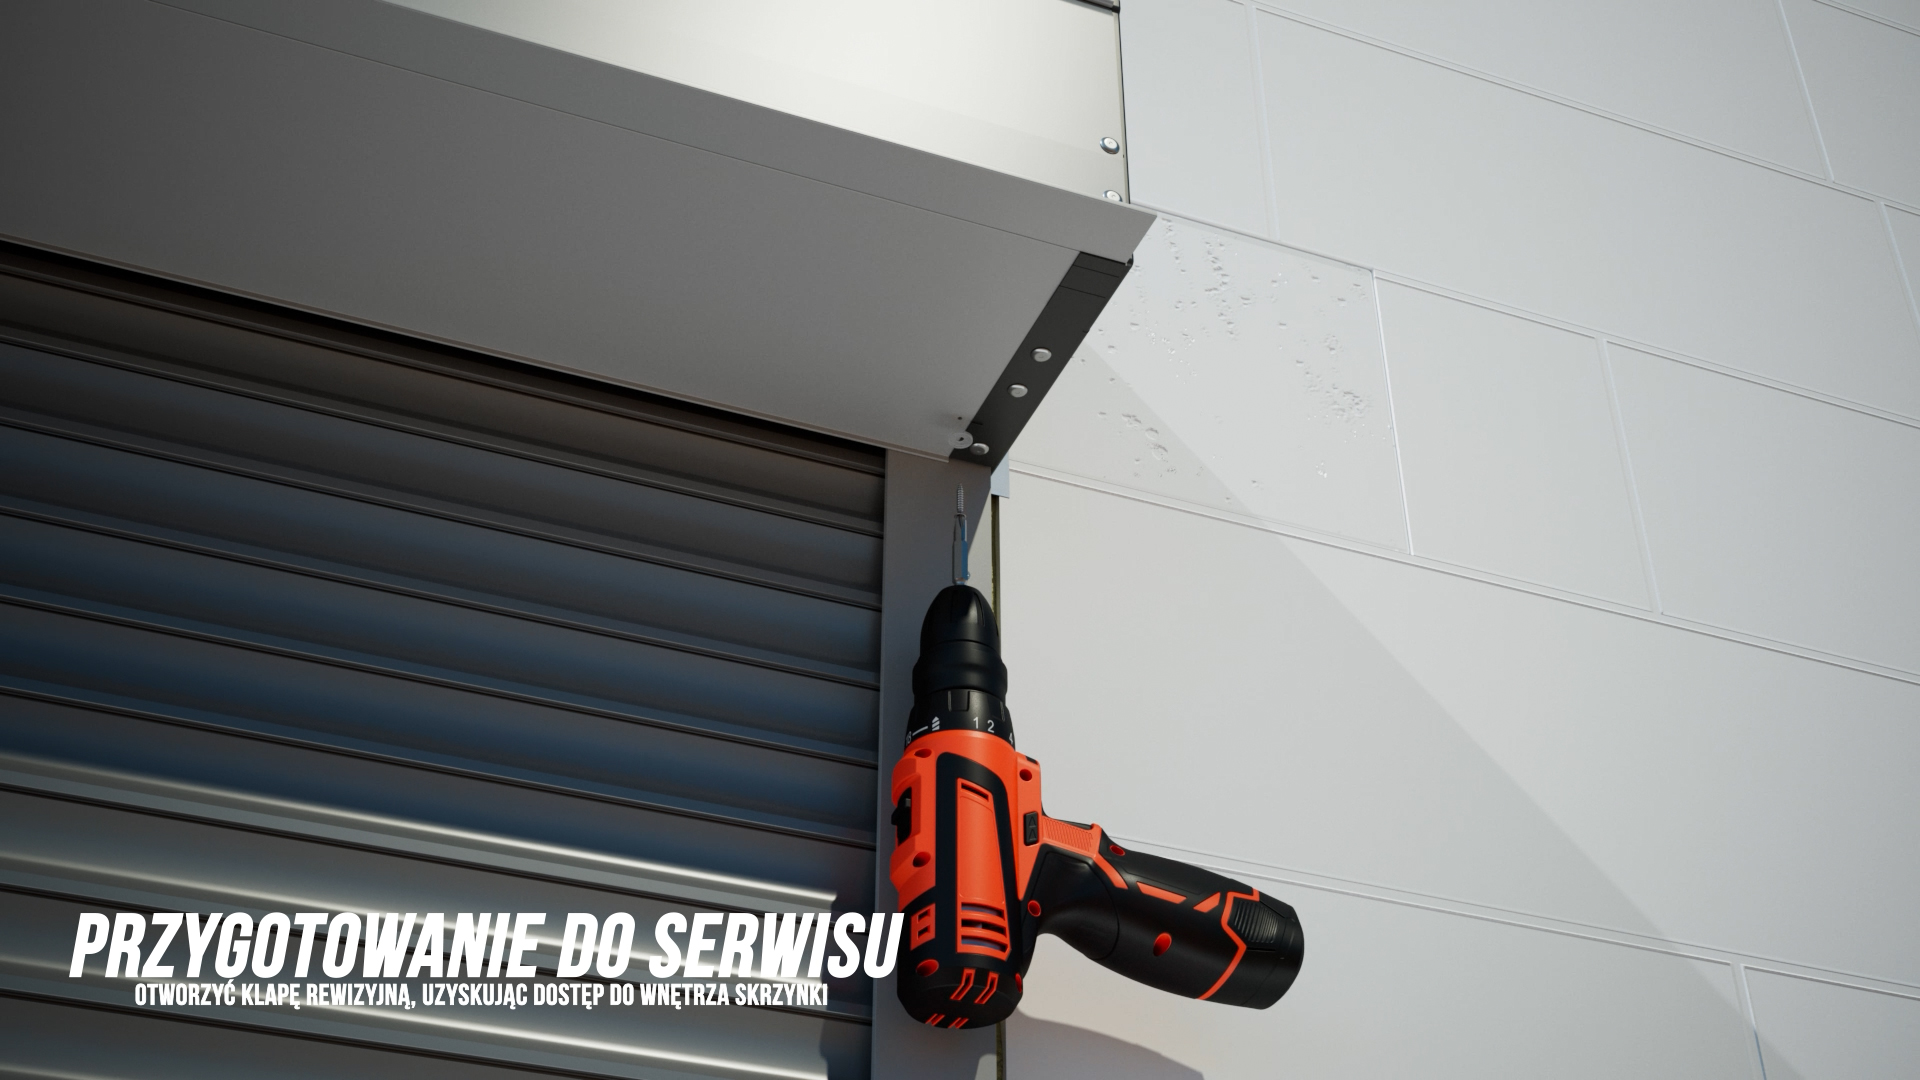
Preparing for service
Opening the box inspection flap
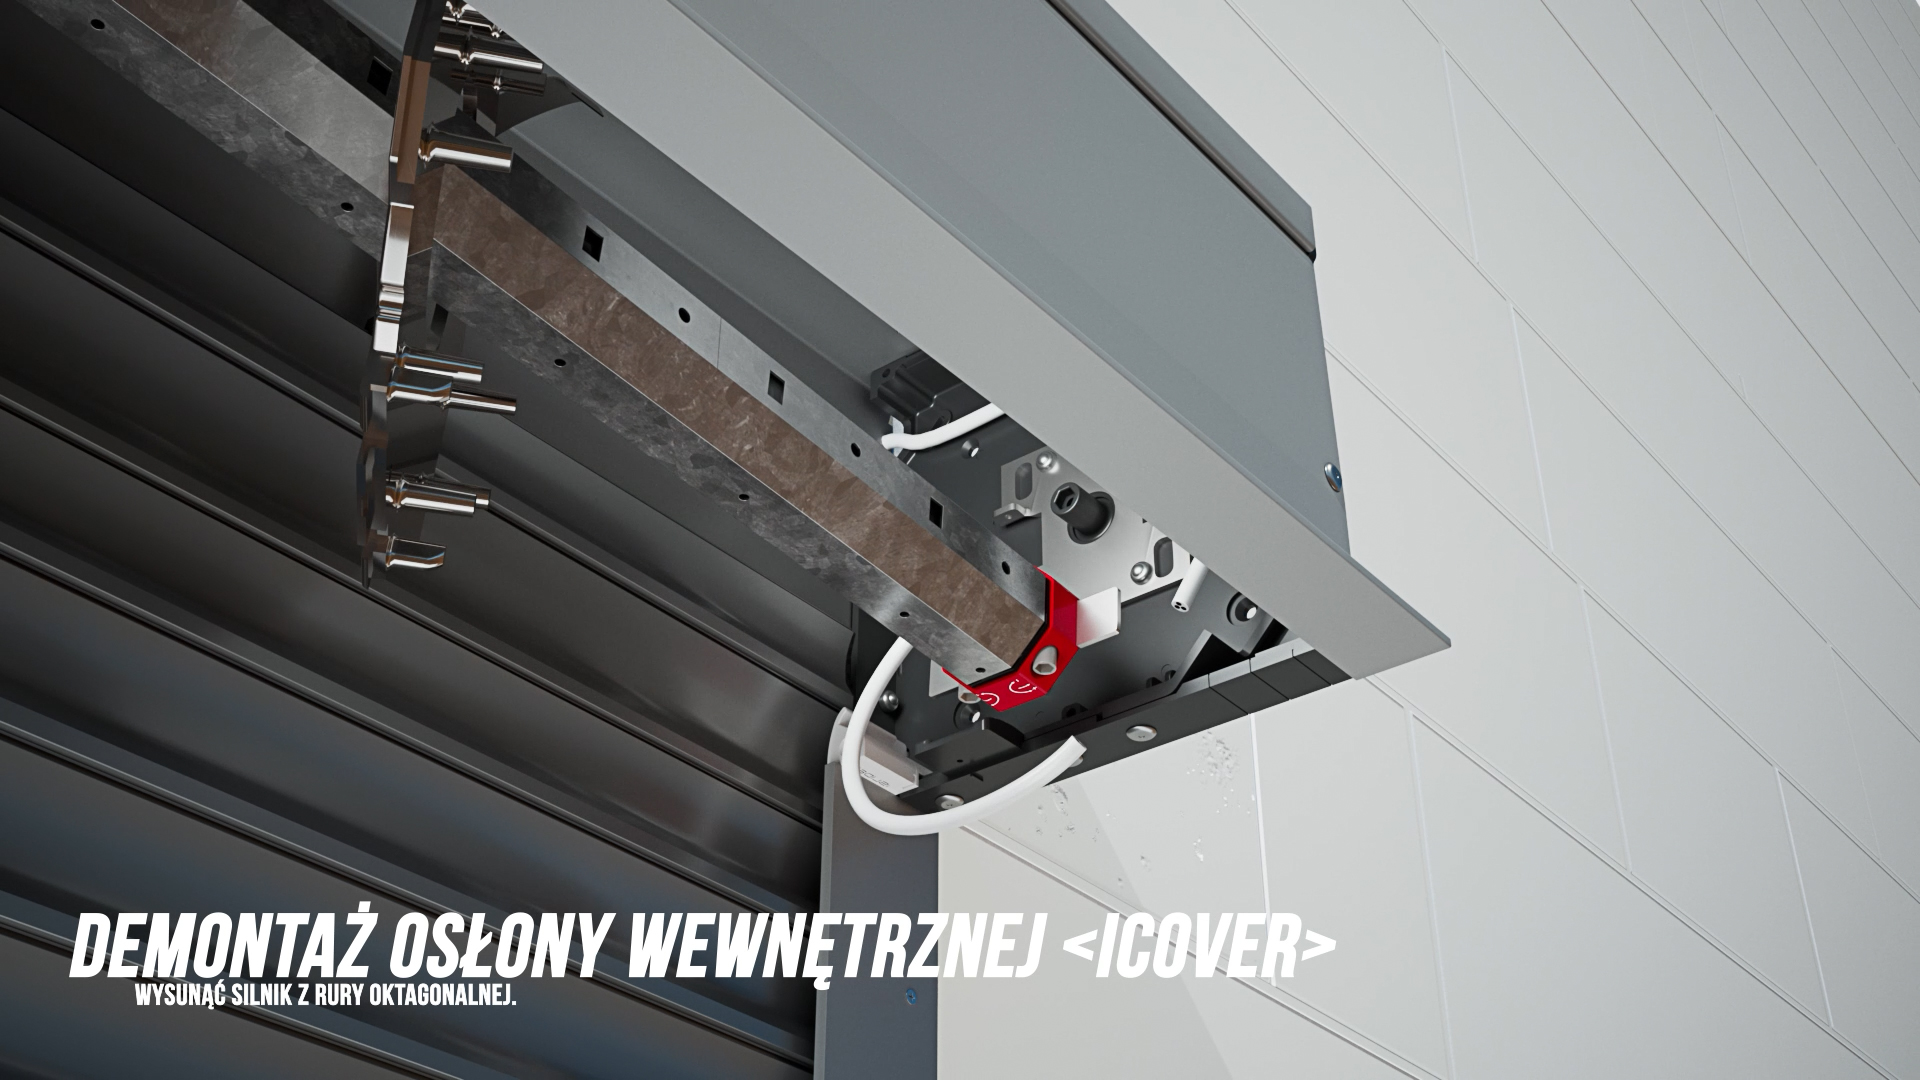
Removing the inner cover
Access to the motor inside the box
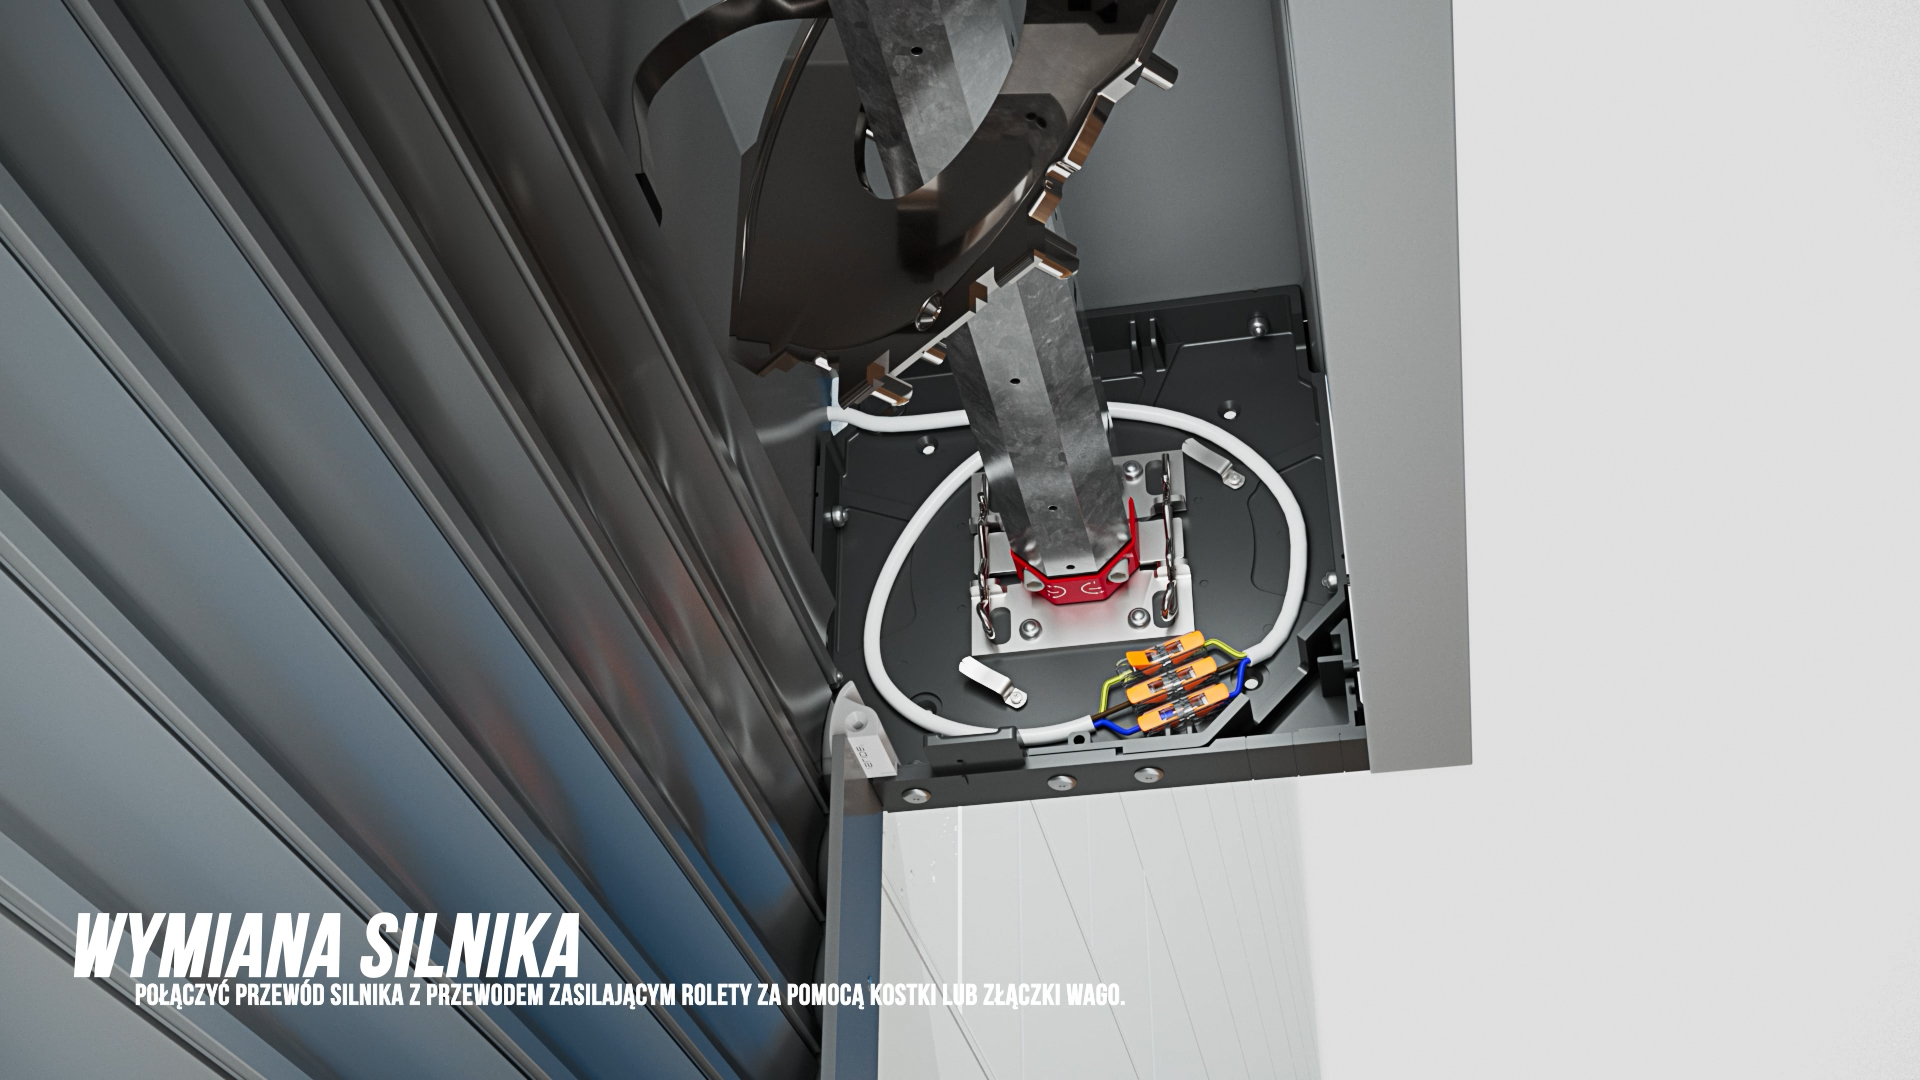
Motor replacement
Motor cable and roller tube
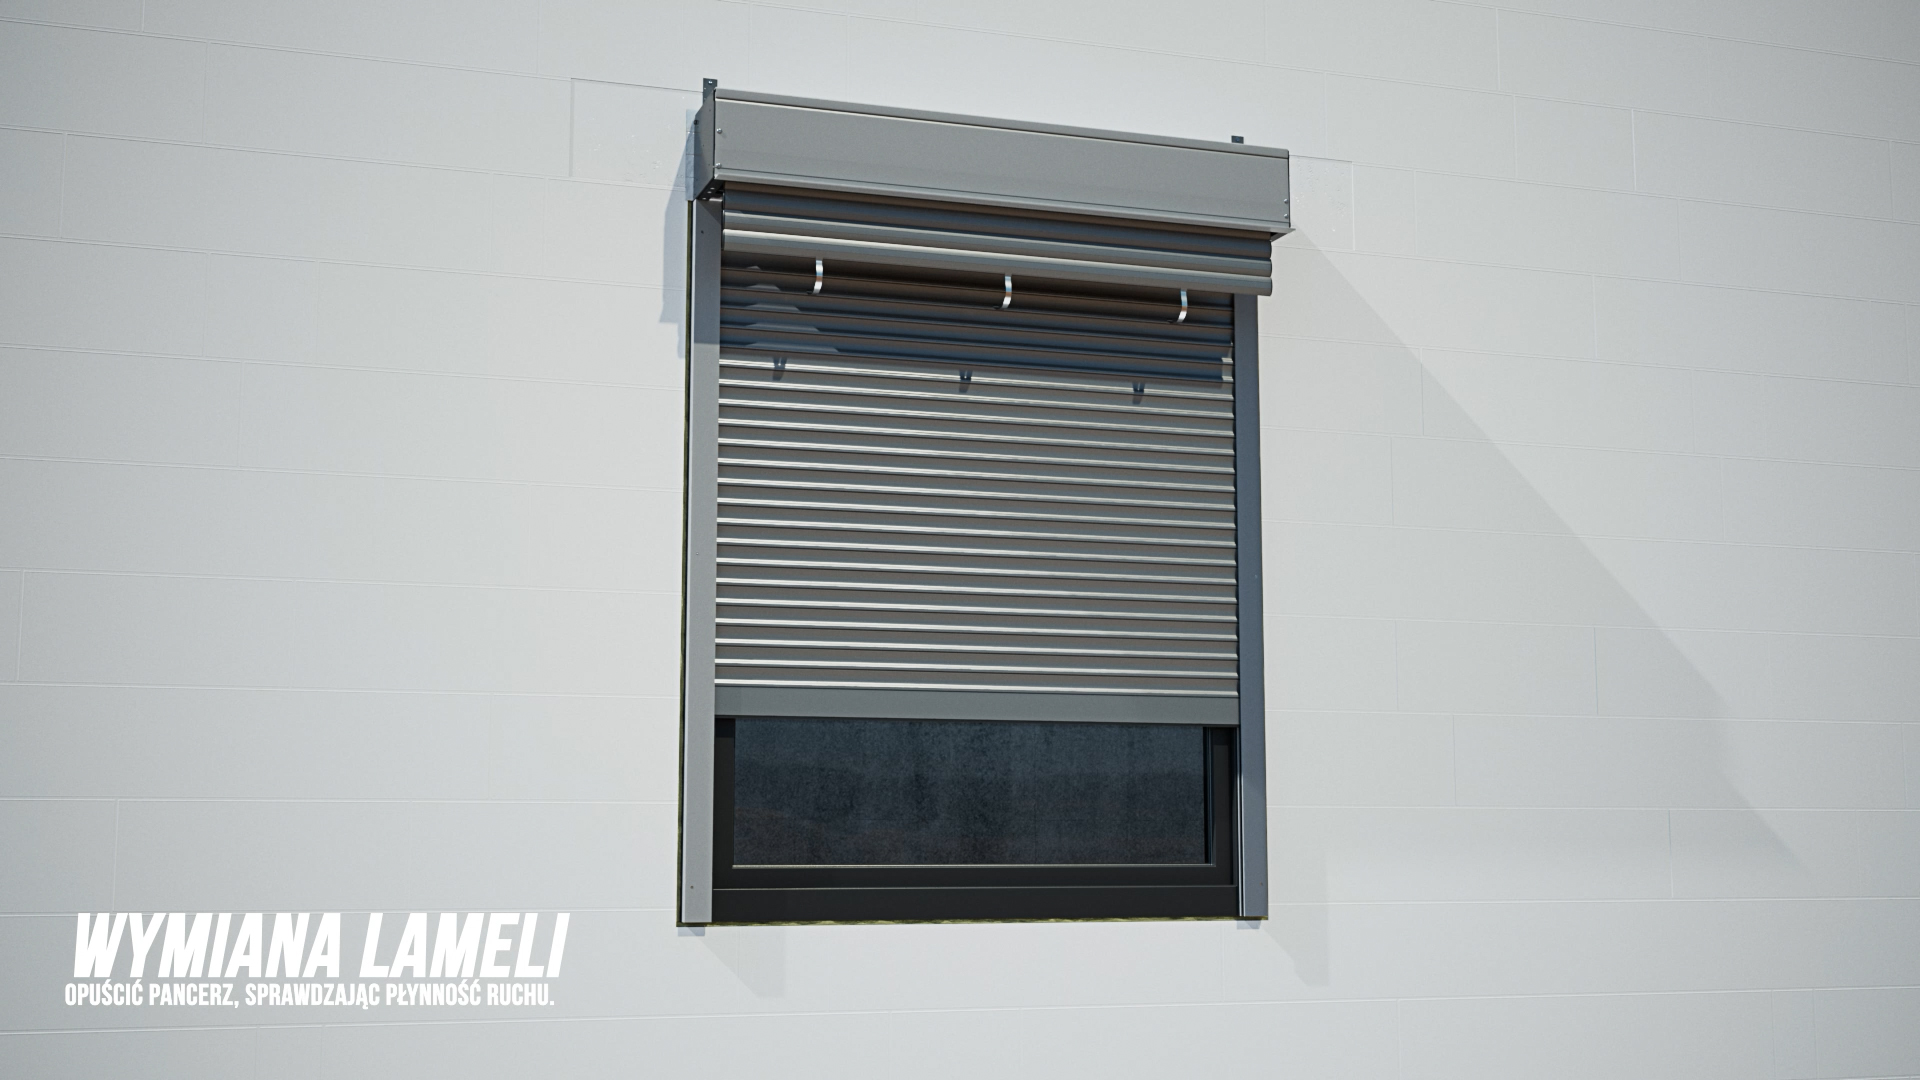
Slat replacement
Slide at the bottom of the guide rail
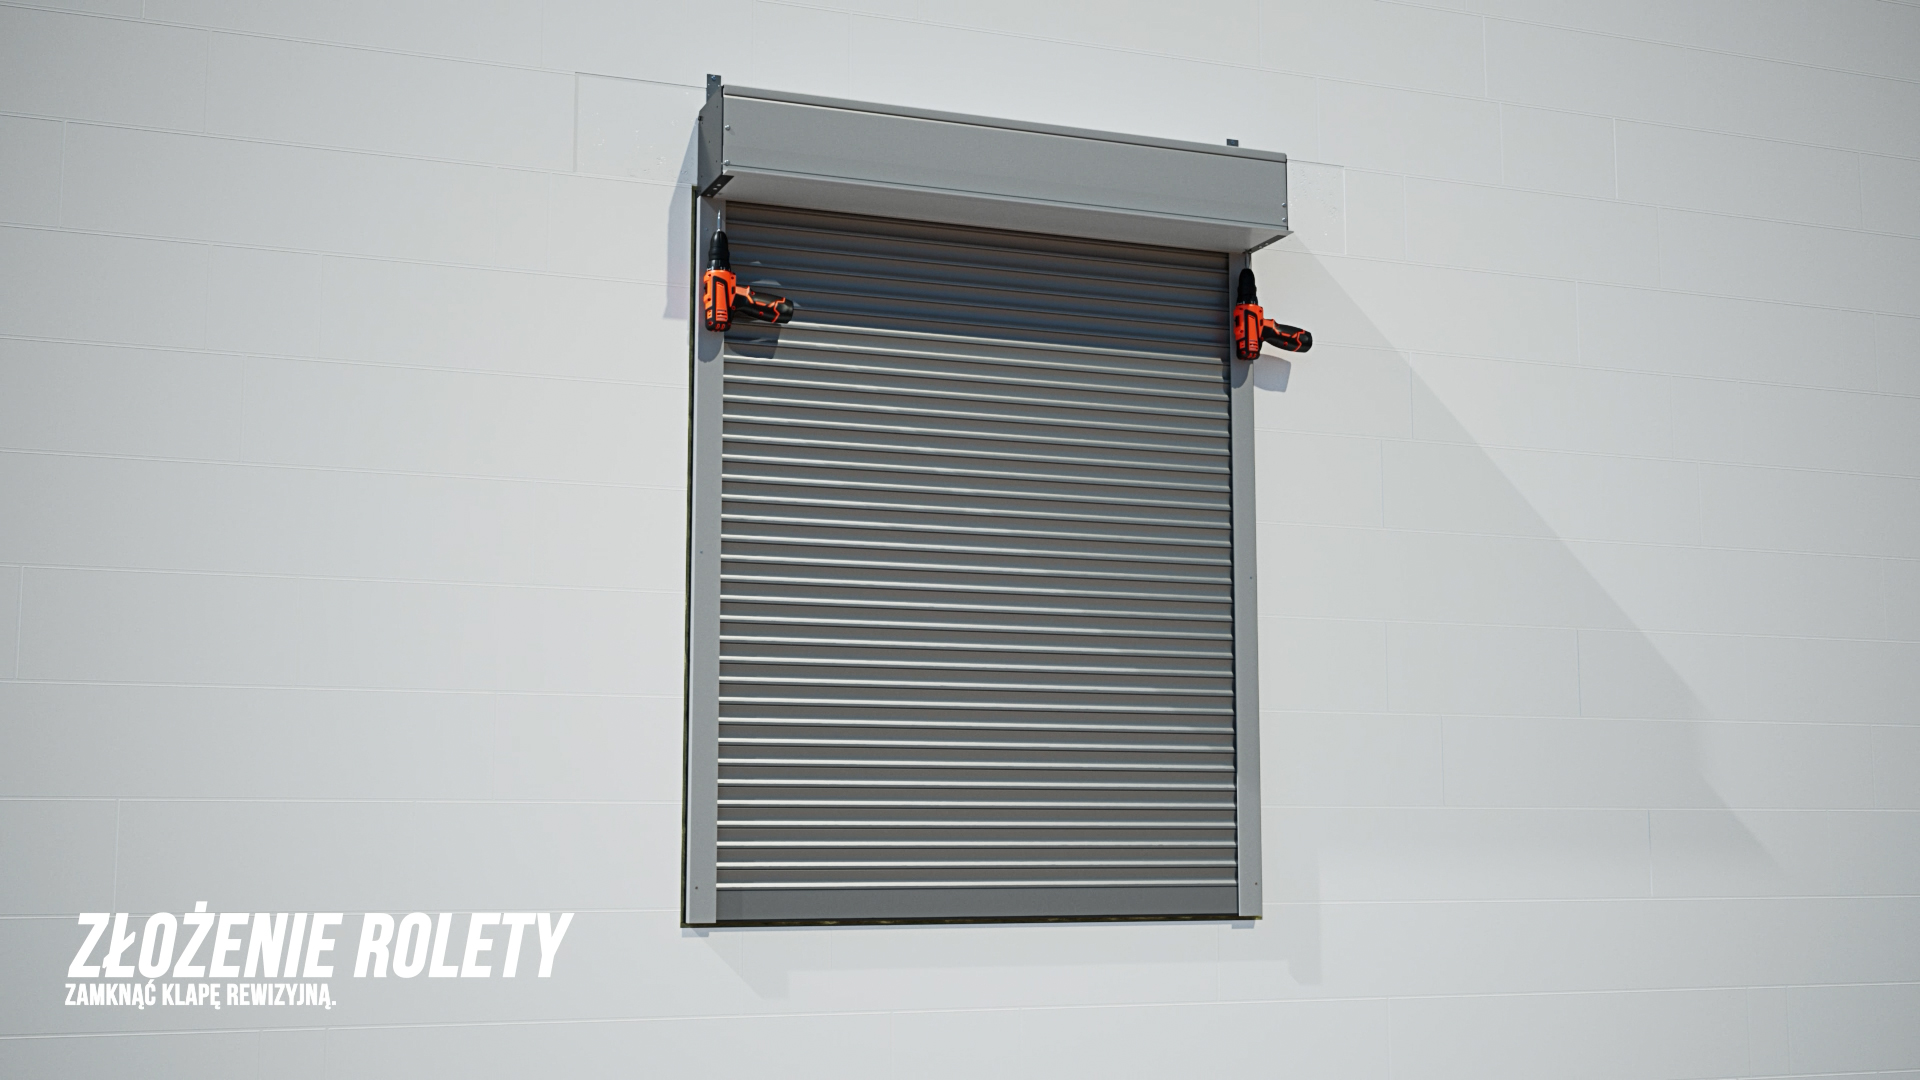
Final assembly
Shutter after service and testing
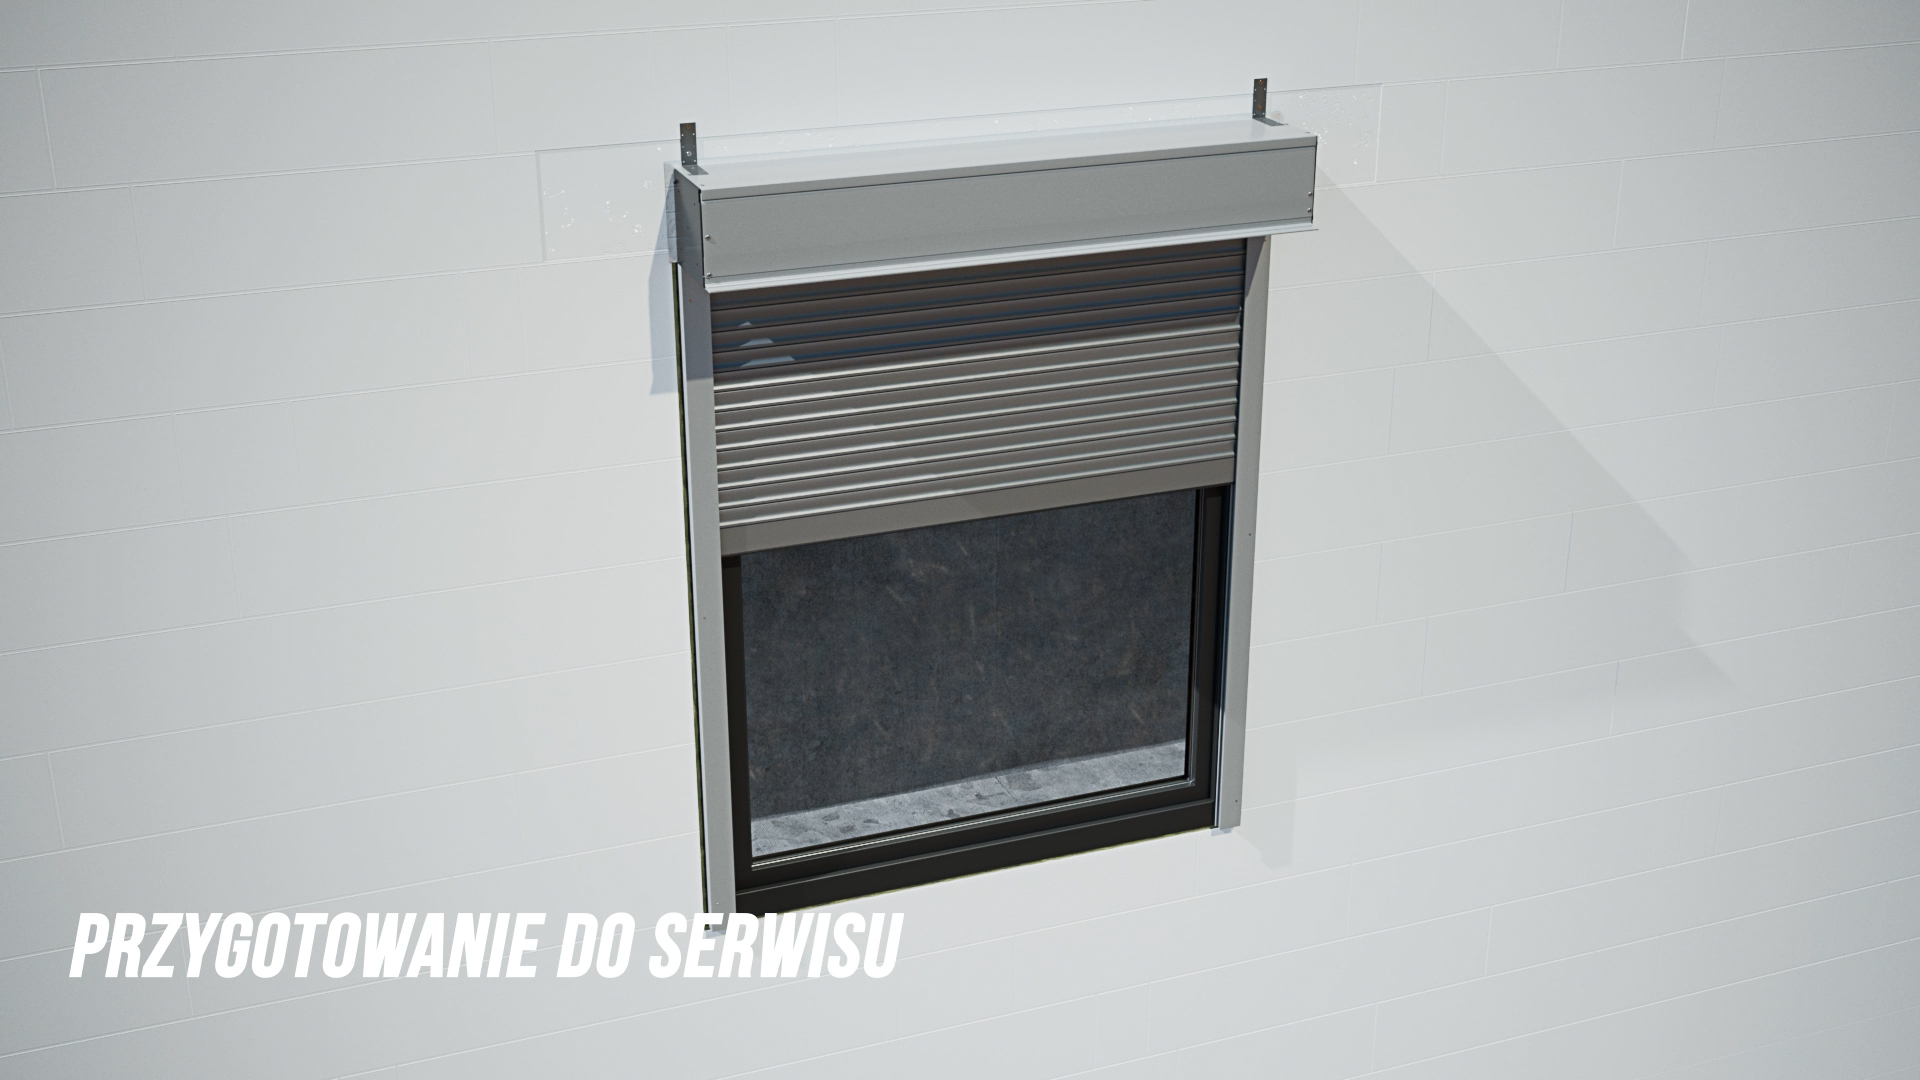
Exterior roller shutter by the window
Assembled shutter ready for installation
Result: an installation and service guide in the AMIDEX knowledge base
- One film covers shutter installation by the window and two service tasks: motor replacement and slat replacement.
- The guide became part of the AMIDEX knowledge base for installers and retail customers.
- Title cards for each stage make it easy to find the step you need.
- The same 3D scene produced a series of visualizations for the client’s materials.
We create animated installation and service guides for manufacturers across industries. See our 3D technical and instructional animation services and the project for Protechnica.
Frequently asked questions (FAQ)
What does the animated exterior roller shutter installation guide for AMIDEX show?
Installing the guide rails and the shutter box on the wall by the window, replacing the motor in the roller tube and replacing damaged curtain slats. At the end, the film shows the shutter being reassembled and tested after service.
How long did the animated roller shutter installation guide take?
6 weeks, from receiving the CAD drawings and photos to the finished film. A typical technical animation takes 3 to 8 weeks, depending on the film length and the number of steps shown.
What materials are needed for a roller shutter installation animation?
For this project we built the 3D model from CAD drawings and photos. The most accurate model comes from a CAD file in STEP format; without one, we work from technical drawings and photos. Read more in our STEP files guide for companies.
Who is an animated roller shutter service guide for?
For installers who fit and service roller shutters, and for customers who want to understand how their shutter is built before calling a service technician. AMIDEX placed the film in its knowledge base for both groups.
Does the animation replace the shutter manufacturer’s instructions?
No. The animation shows the order of the steps and what happens inside the box. Installation parameters, electrical requirements and safety rules are given in the manufacturer’s instructions. Always disconnect the power before working on the motor.
How much does an animated installation guide cost?
The price depends on the film length, the number of steps shown and the quality of the documentation. Indicative rates and cost factors are described in our article on 3D visualization and animation cost.